The Sealed Chamber in Pokémon Emerald: the “why is this so weird?” side quest that everyone messes up once
If you’ve ever tried to open the Sealed Chamber in Pokémon Emerald and ended up getting yeeted by ocean currents like you’re a lost flip flop in the tide… hi. Welcome. I’ve been you.
This whole Regi unlock thing is equal parts mysterious ancient ruins and Game Boy era chaos. The good news: you don’t need to actually read braille, you just need to do a few very specific things in the correct order (which is, admittedly, the exact kind of sentence that makes me want a snack and a nap).
Let’s get you in, get the caves unlocked, and get you back to catching rock/ice/metal grandpas.
First: the one dumb version mistake that ruins everything
Emerald is the friend who shows up to the party and rearranges all the furniture.
Most older guides (or your cousin’s 2005 notebook) are written for Ruby/Sapphire, and Emerald flips the required party order. If you do everything “right” but nothing happens, it’s usually this.
Party order for the Sealed Chamber:
| Game | Slot 1 (front of party) | Slot 6 (very bottom) |
|---|---|---|
| Emerald | Wailord | Relicanth |
| Ruby/Sapphire/ORAS | Relicanth | Wailord |
If you take nothing else from this post: Emerald wants Wailord first, Relicanth last. Yes, it’s backwards. Yes, it’s annoying. Yes, it has personally wasted hours of human life.
Your “don’t make me turn this car around” checklist
Before you go surfing around like you’re in a maritime obstacle course, make sure you’ve got:
- Surf and Dive (you’ll need both to even reach the chamber)
- Access to Pacifidlog Town (this matters because approaching from the wrong direction makes the currents extra rude)
- Wailord in Slot 1
- Catch Wailmer and evolve at level 40, or snag a wild Wailord (Routes 129/130)
- Relicanth in Slot 6
- Found underwater on Route 126 (rare… because of course it is)
- The move Dig (this is the actual “key” inside the chamber)
- TM28 from Route 114
- Optional, but sanity saving: Max Repels
- Because nothing says “ancient puzzle” like getting interrupted by Tentacool #47.
(Also: if you’re not far enough in the story to have Dive yet, this is your sign to go do the plot. The ruins will still be there, being cryptic.)
The ocean currents: aka Hoenn’s version of a moving walkway that hates you
This is where most attempts go off the rails. Routes 132-134 have currents that will happily drag you north and spit you out near Slateport like, “Good luck, sweetheart.”
Here’s the trick that actually works:
- Fly to Pacifidlog Town
- Surf west
- Hug the southern edge of the routes as you go (seriously stay low like you’re trying not to be perceived)
- Keep pushing west through 132 → 133 → 134
- On Route 134, look for a dark dive spot inside a ring of rocks (no sign, no helpful NPC, just vibes)
- Park yourself right on that dark spot and use Dive
If you get swept off and end up somewhere dumb: don’t overthink it. Fly back to Pacifidlog and try again. This is not a failure. This is Pokémon Emerald being Pokémon Emerald.
Underwater: the easiest part, weirdly
Once you dive, it’s refreshingly straightforward.
- Swim south through the underwater trench (no forks, no choices, bless)
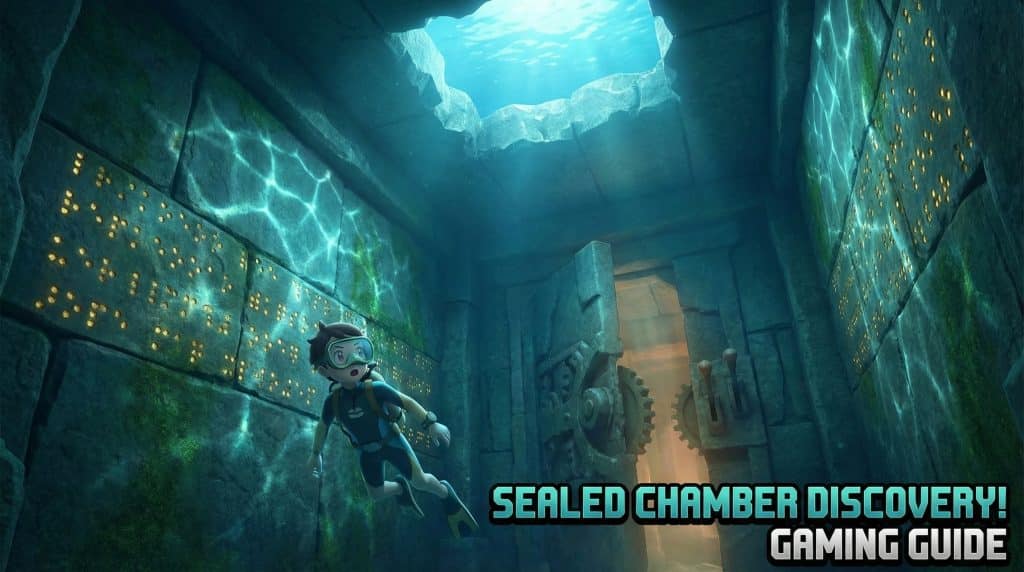
- At the end you’ll see a stone wall with braille
- Surface right in front of that wall
Congrats, you found the Sealed Chamber. Now you just have to do the “open sesame” steps.
The braille puzzle (you don’t need to translate anything, promise)
Inside:
- In the first room, walk up near the center/braille wall area.
- Use Dig.
- The game will ask if you want to escape. Say YES (counterintuitive, I know).
- Go into the next chamber and walk to the back wall with braille.
- Stand directly in front of it and press A.
That’s it. No decoding. No riddles. Just “Dig, then read.”
How you’ll know you did it right (the game is dramatic about it)
If it worked, you’ll get the full spooky confirmation:
- The ground shakes
- You hear three clicks
Those clicks are basically Hoenn’s way of saying: “Fine. You may now bother the Regi trio.”
Okay, so where are the Regis?
Once the Sealed Chamber is done, all three caves unlock, and you can go pick your first target before getting both Eon twins.
- Regirock Desert Ruins, Route 111
- Regice Island Cave, Route 105
- Registeel Ancient Tomb, Route 120
They all have low catch rates, so stock up like you’re planning for emotional damage with a full legendary checklist. (False Swipe and status moves help a ton, if you’re the prepared type. I’m… sometimes the prepared type.)
Quick fixes (aka “why is nothing happening?”)
“I read the braille and nothing happened.”
99% chance your party order is wrong. In Emerald, it must be:
- Wailord in Slot 1
- Relicanth in Slot 6
“The currents keep pushing me off course.”
Start again from Pacifidlog, and stay low/south as much as possible. Also, slow your inputs a bit overcorrecting is how you get dragged north.
“I dove and ended up somewhere useless.”
Yep, there are other dive spots nearby. Surface, reposition over the rock ring dive spot, and try again.
Go forth and collect your legendary ancient weirdos
The Sealed Chamber isn’t hard because it’s complicated it’s hard because it’s specific. Like assembling IKEA furniture without the little allen key (and with more sea currents).
But once you hear those three clicks? You’re in business. Go enjoy the Regi hunt, soak up the creepy ruin atmosphere, and try not to throw your cartridge across the room if Regice breaks out of the ball for the 18th time.