

You drop into a mission, confident in your gear, only to get overwhelmed within minutes. It is frustrating, especially when everything looked strong on paper.
That moment makes one thing clear: choosing the Helldivers 2 best loadout is not as simple as picking the most powerful weapons.
Every mission feels different, every enemy reacts differently, and suddenly your setup either carries you or completely falls apart.
That is where understanding Helldivers 2 builds starts to matter. It is not just about damage; it is about balance, survival, and making every slot count when things get chaotic.
Once the right combination clicks, the game feels smoother, faster, and far more rewarding. And honestly, that feeling of finally getting it right is what keeps players coming back for more.
What Makes a Good Helldivers 2 Build?
A Helldivers 2 build is the full set of equipment you bring into a mission: primary weapon, secondary weapon, grenade, up to four stratagems, armor, and a booster.
Every one of those slots has a job. The mistake most players make is filling those slots with whatever they like rather than what the mission needs.
Primary weapon handles most of your medium-threat engagements. Your secondary weapon is a backup for close calls and emergencies, not your main damage source.
Stratagems cover the heavy targets and area threats your primary cannot handle efficiently, and your armor passive can shift how you play an entire mission.
Boosters apply to your whole squad, so coordinating them matters more than people realize.
Flamethrowers now apply panic to enemies on contact, the Laser Cannon’s effective range extended to 1,000 meters, and the GL-21 Grenade Launcher lost heavy armor penetration.
Those changes shifted some loadout decisions, especially on the bot front.
Understanding weapon choices per faction is a solid first step before locking in any build.
The builds below reflect the current state of the game.
Best Helldivers 2 loadout for Terminids
Terminids are fast, numerous, and almost entirely organic. They close the distance quickly and swarm in numbers that can overwhelm anyone who stands still.
1. The Fire and Brimstone Build
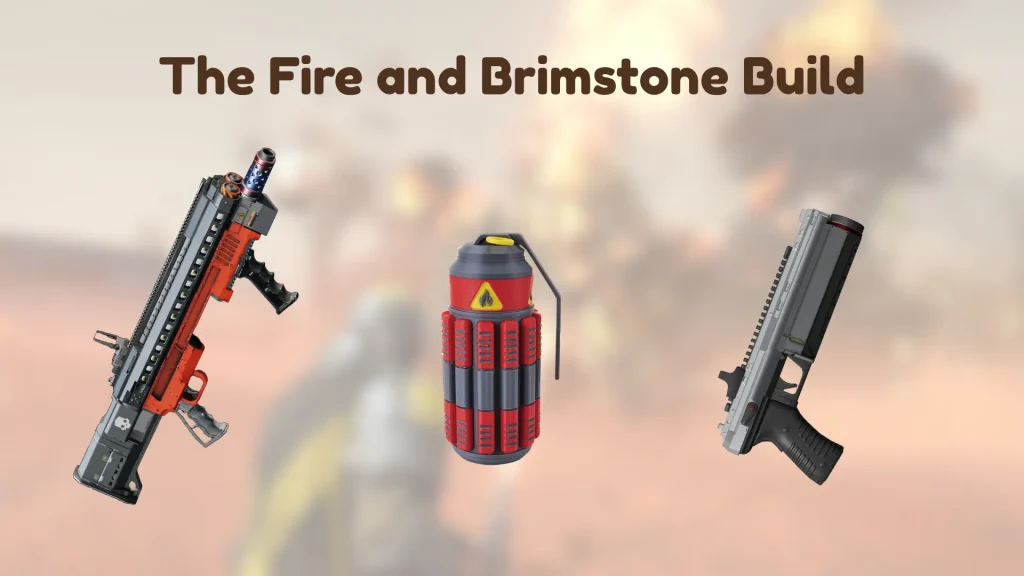
This is my go-to setup for bug missions at great difficulty. Fire ignites groups before they reach you, and the panic effect added in the recent patch makes flamethrower plays more punishing than ever.
- Primary: Breaker Incendiary or SG-451 Cookout
- Secondary: Grenade Pistol (closes bug holes without a stratagem slot)
- Grenade: Gas Grenade or Incendiary Grenade
- Support weapon stratagem: Flamethrower
- Eagle stratagem: Eagle Napalm Airstrike or Eagle Strafing Run
- Orbital stratagem: Orbital Napalm Barrage
- Backpack: Quasar Cannon backpack OR Personal Shield Generator
- Armor perk: Extra Padding or Servo Assisted
- Booster: Vitality Enhancement
The Flamethrower handles Chargers and mid-size threats. The Orbital Napalm Barrage is one of the best area-clear tools on bug maps with dense patrols.
Use the Grenade Pistol to seal nest holes passively while moving rather than burning a stratagem slot.
2. The Crowd Control Build
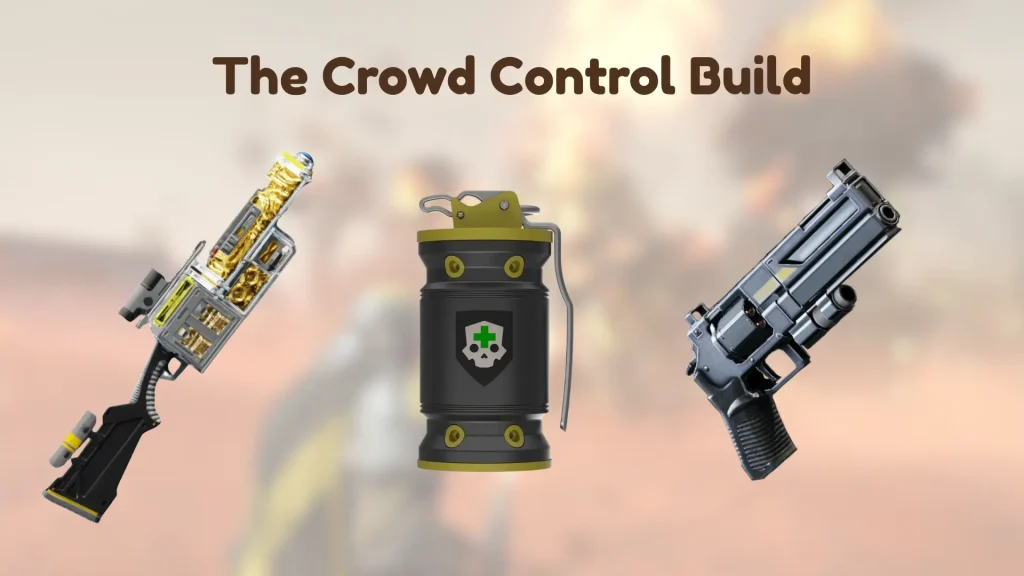
If you want more flexibility or you’re playing on a team where someone else covers fire, this setup prioritizes mobility and area suppression.
- Primary: Sickle or Double-Edge Sickle
- Secondary: Senator or Redeemer
- Grenade: Gas Grenade or High-Explosive
- Support weapon stratagem: AC-8 Autocannon
- Eagle stratagem: Eagle Cluster Bomb
- Orbital stratagem: Orbital Gas Strike
- Backpack: Autocannon ammo backpack
- Armor perk: Light armor with Scout (Fortified is also solid)
- Booster: Stamina Enhancement
The Autocannon is one of the most versatile bug-killing tools in the game. It two-shots Bile Spewers and handles Brood Commanders and Hunters cleanly at medium range.
The Eagle Cluster Bomb is the best AoE stratagem available for clearing dense swarms, though it requires care around teammates.
Light armor keeps your stamina high for kiting, which is how you stay alive when a swarm gets close.
Best Helldivers 2 Loadout for Automatons
Bots are a different kind of problem. They field fewer units than bugs, but those units are armored, use ranged attacks, and punish players who stand in the open.
1. The Solo Anti-Bot Build
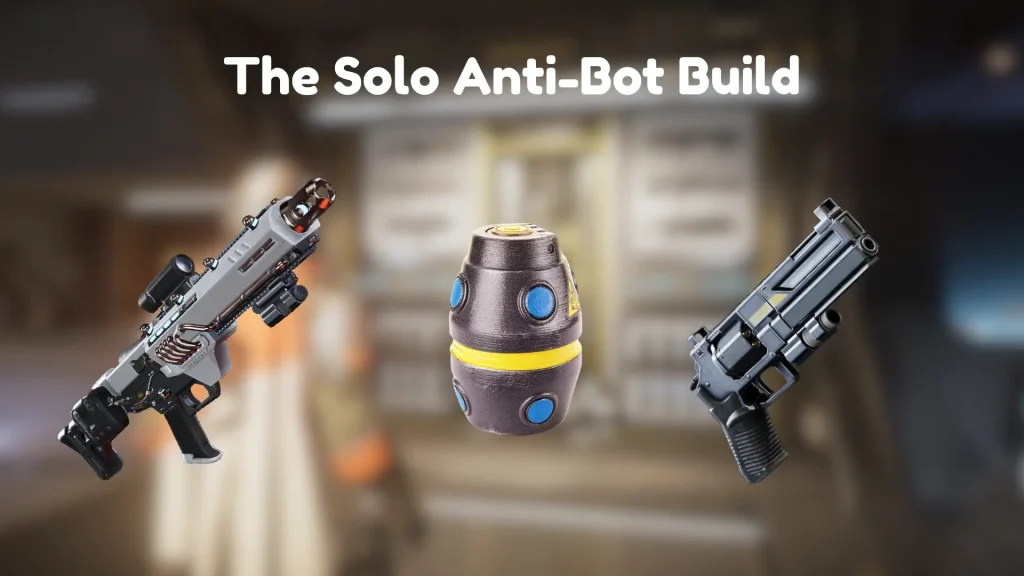
This setup is built around the Purifier energy rifle paired with a Recoilless Rifle stratagem, and it is one I keep coming back to when running bot missions without a full squad.
The Purifier’s charged shot is the main reason this setup works. Most players default to the Eruptor on bots, but the Eruptor requires line-of-sight to the target.
The Purifier lets you charge and fire from behind cover at Devastators without stepping out.
- Primary: Purifier (charged shots) or Scorcher energy weapon
- Secondary: Senator or Ultimatum
- Grenade: G-16 Impact Grenade
- Support weapon stratagem: Recoilless Rifle
- Eagle stratagem: Eagle 500 kg Bomb
- Orbital stratagem: Orbital Precision Strike
- Backpack: Shield Generator Pack
- Armor perk: Medium armor with Engineering Kit or Fortified
- Booster: Vitality Enhancement
The 500 kg Bomb is the best boss-deletion tool in the game and is considered S-tier in the current meta, capable of one-shotting heavy Automaton vehicles when dropped accurately.
Cannon Turrets and Devastators both track at long range. Use the Orbital Precision Strike for suppression and patrol clearing when you can’t call in the Eagle.
2. The Squad Bot Build
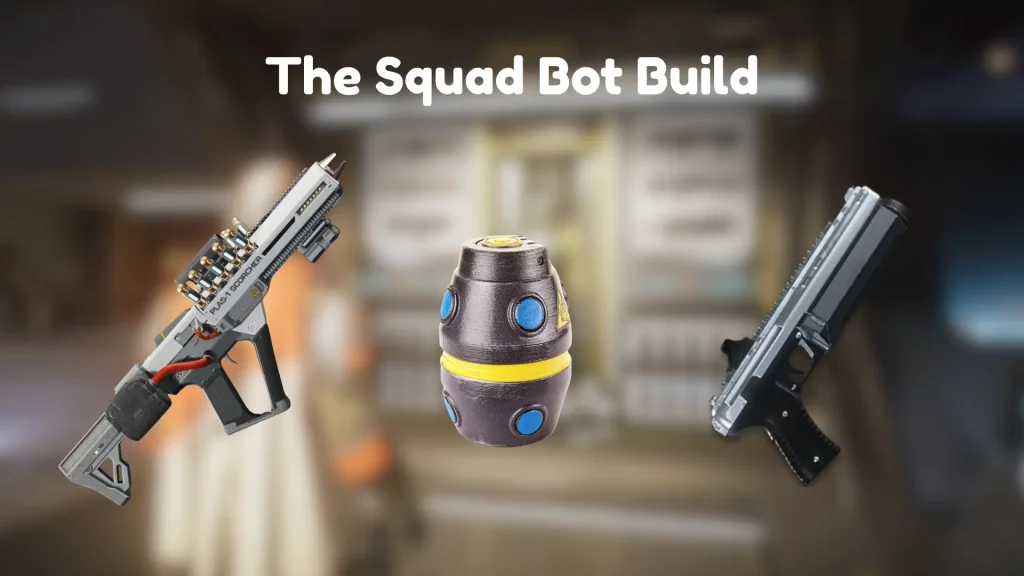
In a squad, individual survivability matters less than team resource coverage.
This setup drops the Shield Pack for the B-1 Supply Pack, which resupplies the full team during sustained engagements without anyone breaking position to hunt ammo boxes.
- Primary: Scorcher or Sickle
- Secondary: Grenade Pistol
- Grenade: G-16 Impact
- Support weapon stratagem: GL-28 Belt-Fed Grenade Launcher (buffed to 120 rounds post-Patch 6.1.0)
- Eagle stratagem: Eagle 500 kg Bomb
- Orbital stratagem: Orbital Laser
- Backpack: B-1 Supply Pack
- Armor perk: Medium armor with Fortified
- Booster: Hellpod Space Optimization
Do not run both the GL-28 and a second launcher on the same player. It wastes a stratagem slot that should go to anti-heavy or area clear.
The Orbital Laser is worth its slot against bots and Illuminate because both factions field heavies that need sustained or high-burst damage, and the Laser tracks automatically after activation.
Best Helldivers 2 Loadout for the Illuminate
The Illuminate is the faction that surprises players most when they first encounter them at great difficulty. They rely on energy shields, teleportation, and mixed composition.
1. The Shield-Breaker Build
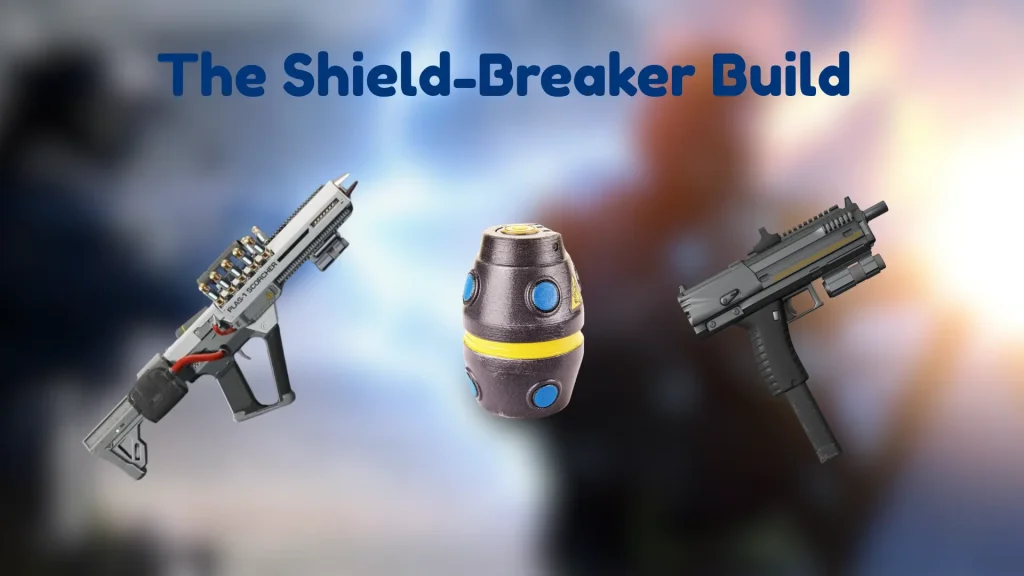
Explosive and energy rounds are the most consistent way to deal with shielded Illuminate units. This setup balances shield penetration against heavy units with suppression against Voteless hordes.
- Primary: PLAS-1 Scorcher or Plas-39 Accelerator Rifle
- Secondary: Senator or P-19 Redeemer
- Grenade: G-16 Impact
- Support weapon stratagem: Autocannon or WASP Launcher
- Eagle stratagem: Eagle 500 kg Bomb or Eagle Strafing Run
- Orbital stratagem: Orbital Laser Strike or Orbital Precision Strike
- Backpack: Personal Shield Generator
- Armor perk: Medium armor, any passive
- Booster: Vitality Enhancement
The Scorcher’s explosive rounds work well against shielded units because the explosion bypasses traditional shield mechanics.
The Eagle Strafing Run handles shield clusters and groups of unshielded Obelisks. Time your high-value orbitals near Wave Spawners where multiple heavies appear together.
2. The Mobility Build
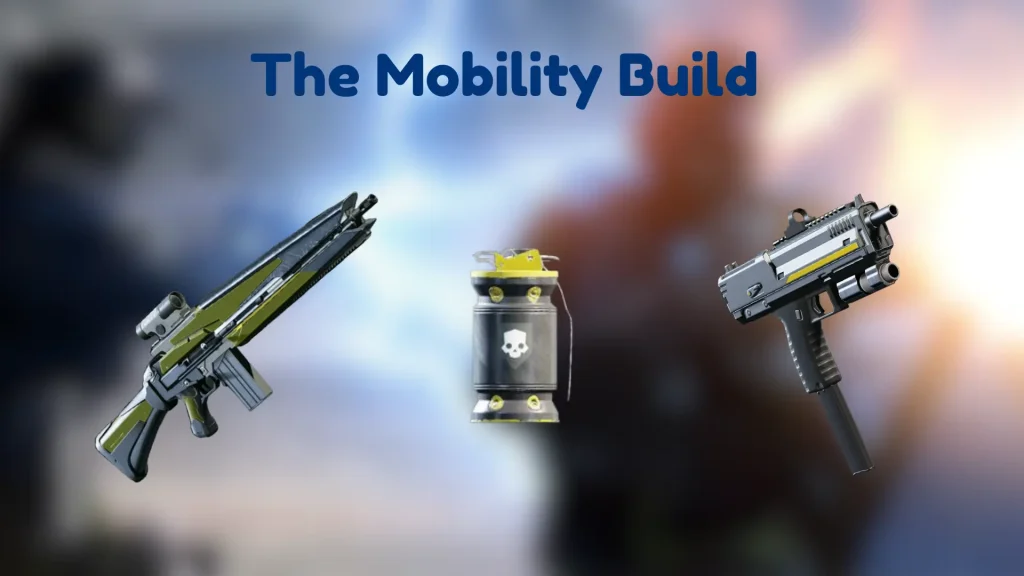
For indoor maps, tight corridors, or missions where Teleporters and Fleshmobs are spawning aggressively, a mobility-focused build outperforms raw firepower.
- Primary: Sickle or Adjudicator
- Secondary: Redeemer
- Grenade: Smoke Grenade or Impact
- Support weapon stratagem: MG-206 Heavy Machine Gun
- Eagle stratagem: Eagle Napalm Airstrike
- Orbital stratagem: Orbital Gas Strike
- Backpack: Jump Pack or Warp Pack
- Armor perk: Light armor with Scout or Extra Padding
- Booster: Stamina Enhancement
The Jump or Warp Pack is one of the best tools for Illuminate missions, specifically because teleporting enemies will reposition around you.
Having a movement tool means you can break out of an encirclement that a Fleshmob or Overseer has created.
On missions with heavy Teleporter activity, I almost always default to the Warp Pack over Jump.
The MG-206 covers consistent high-DPS output against most Illuminate units without burning a backpack slot on ammo.
How to Build Your Own Loadout?
Building the right setup becomes easier when broken into clear steps. This framework helps create balanced, mission-ready loadouts without guesswork or wasted slots.
The dedicated builds guide goes deeper on how roles and synergies hold up at higher difficulty tiers.
- Identify Mission Type: Choose loadout based on defense, sabotage, or extraction objectives, as each requires different tools, pacing, and engagement strategies
- Identify Enemy Type: Select weapons and stratagems based on bugs, bots, or Illuminate, since each faction demands different damage types and combat approaches
- Fill the 4 Core Roles: Include anti-heavy for elites, crowd control for swarms, utility for support, and survival tools to maintain effectiveness during extended fights
- Adjust for Team or Solo: Adapt your loadout depending on solo or squad play, ensuring coverage gaps are filled, and roles are not duplicated unnecessarily
What Real Players Say About the Best Loadouts?
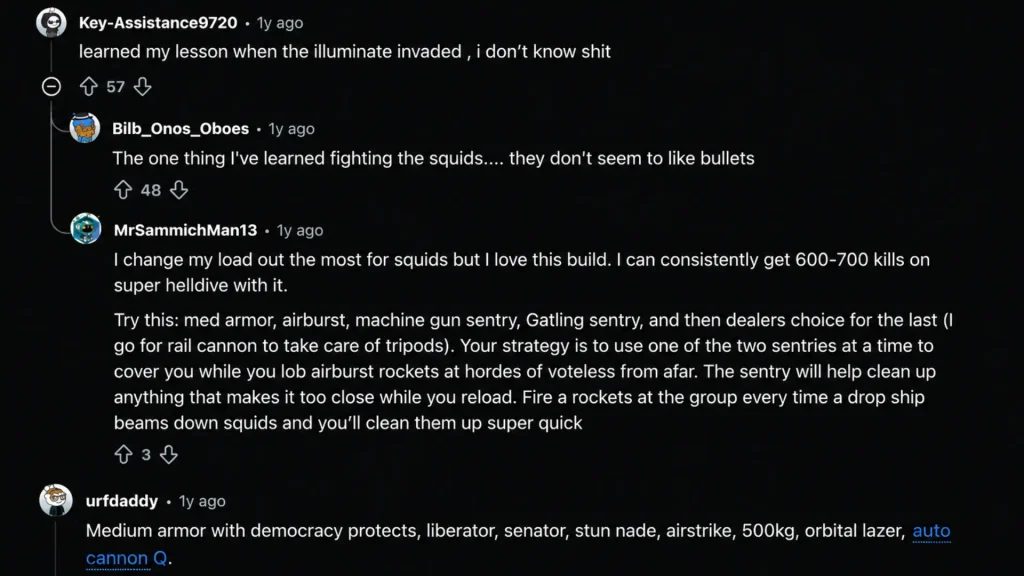
On Reddit, many players agree there is no perfect build, only adaptable ones that cover multiple situations.
One popular approach focuses on medium armor, versatile rifles, and high-impact stratagems like Eagle Airstrike, Orbital Laser, and 500kg Bomb for consistent performance across missions.
Some players prefer defensive setups using sentries and airburst weapons to control crowds, especially against Illuminate waves.
Others lean toward flexible builds with tools like the Autocannon or Recoilless Rifle to handle both medium and heavy threats.
A common pattern stands out: the best builds are not specialized but balanced.
Across discussions, one idea repeats often: adaptability matters more than raw power when facing unknown missions or mixed enemy types.
Common Loadout Mistakes to Avoid
Even strong weapons fail when the overall setup lacks balance. These common mistakes reduce efficiency, survivability, and mission success rates.
- Ignoring enemy type: Choosing loadouts without considering faction leads to poor damage output and ineffective engagements against specific threats.
- No anti-armor option: Failing to include heavy damage tools makes Chargers, Tanks, and elites extremely difficult to eliminate.
- Overlapping team roles: Running duplicate builds wastes team potential and leaves gaps in crowd control, support, or heavy damage.
- Poor stratagem balance: Selecting only offensive stratagems removes survivability and utility needed during prolonged or difficult missions.
- Wrong armor choice: Using heavy armor in mobility fights or light armor in defensive missions reduces effectiveness and survivability.
- Ignoring boosters: Not coordinating boosters limits squad-wide advantages like stamina, health, or reinforcement efficiency during missions.
Conclusion
Finding the Helldivers 2 best loadout comes down to understanding the mission, the enemy, and how each piece of gear supports your role.
Every faction demands a different approach, and success often depends on how well your loadout adapts under pressure rather than raw power alone.
A strong setup is built on balance, covering crowd control, survivability, and heavy damage without leaving gaps.
Small adjustments, whether it is switching a stratagem or changing armor, can significantly impact performance in great difficulty missions.
The real difference comes from testing and refining what works during actual gameplay.
What loadout has worked best for you so far? Share your experience in the comments below and help others improve their builds.
Frequently Asked Questions
How Important is Team Coordination when Choosing a Loadout?
Team coordination can make or break a mission. A well-balanced squad with different roles performs far better than four players running similar builds without synergy.
Should You Change Loadouts Mid-Campaign?
Yes, adjusting loadouts between missions is important. Enemy types and objectives vary, so sticking to one setup can reduce effectiveness in different scenarios.
Are Energy Weapons Better than Ballistic Weapons?
Energy weapons offer consistent damage and utility, but ballistic weapons often provide better burst damage. The best choice depends on the enemy type and mission style.